
- Table of Contents
- Tools Needed
- Step-By-Step
- Measuring Mistakes
- Countertop Template
- Installation Insights
Research & Planning
How To Measure Countertops Like A Pro: A DIY Guide For Homeowners
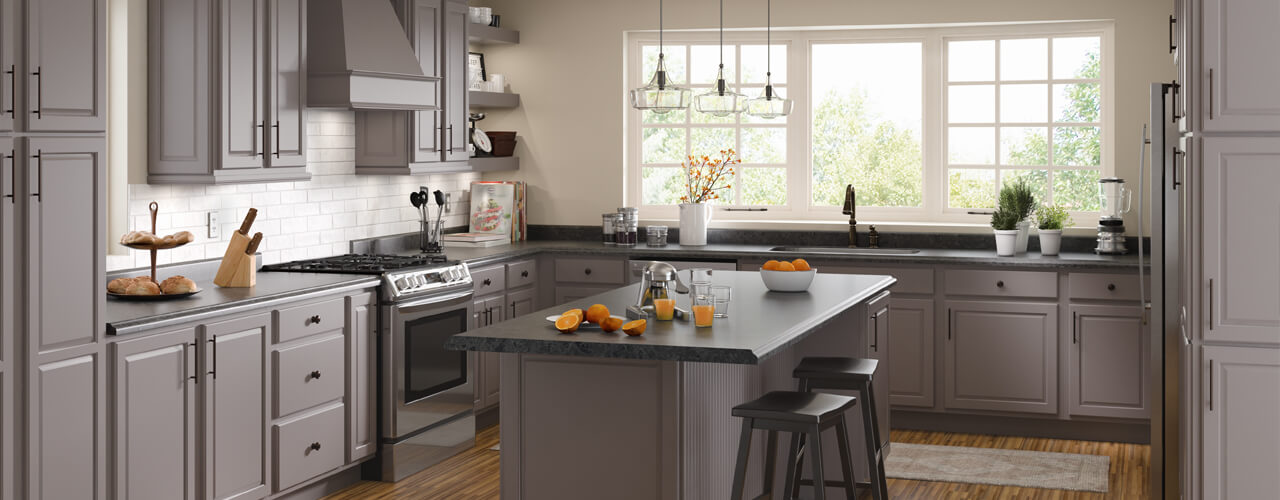
Thinking about installing new countertops but not sure where to start? Before you dive into your kitchen or bathroom remodel, there's one crucial step you can't afford to overlook: accurate countertop measurements. Whether you're updating your space with quartz, laminate, or solid surface, getting the measurements right ensures a smooth installation and a beautiful, functional fit.
Tools You'll Need
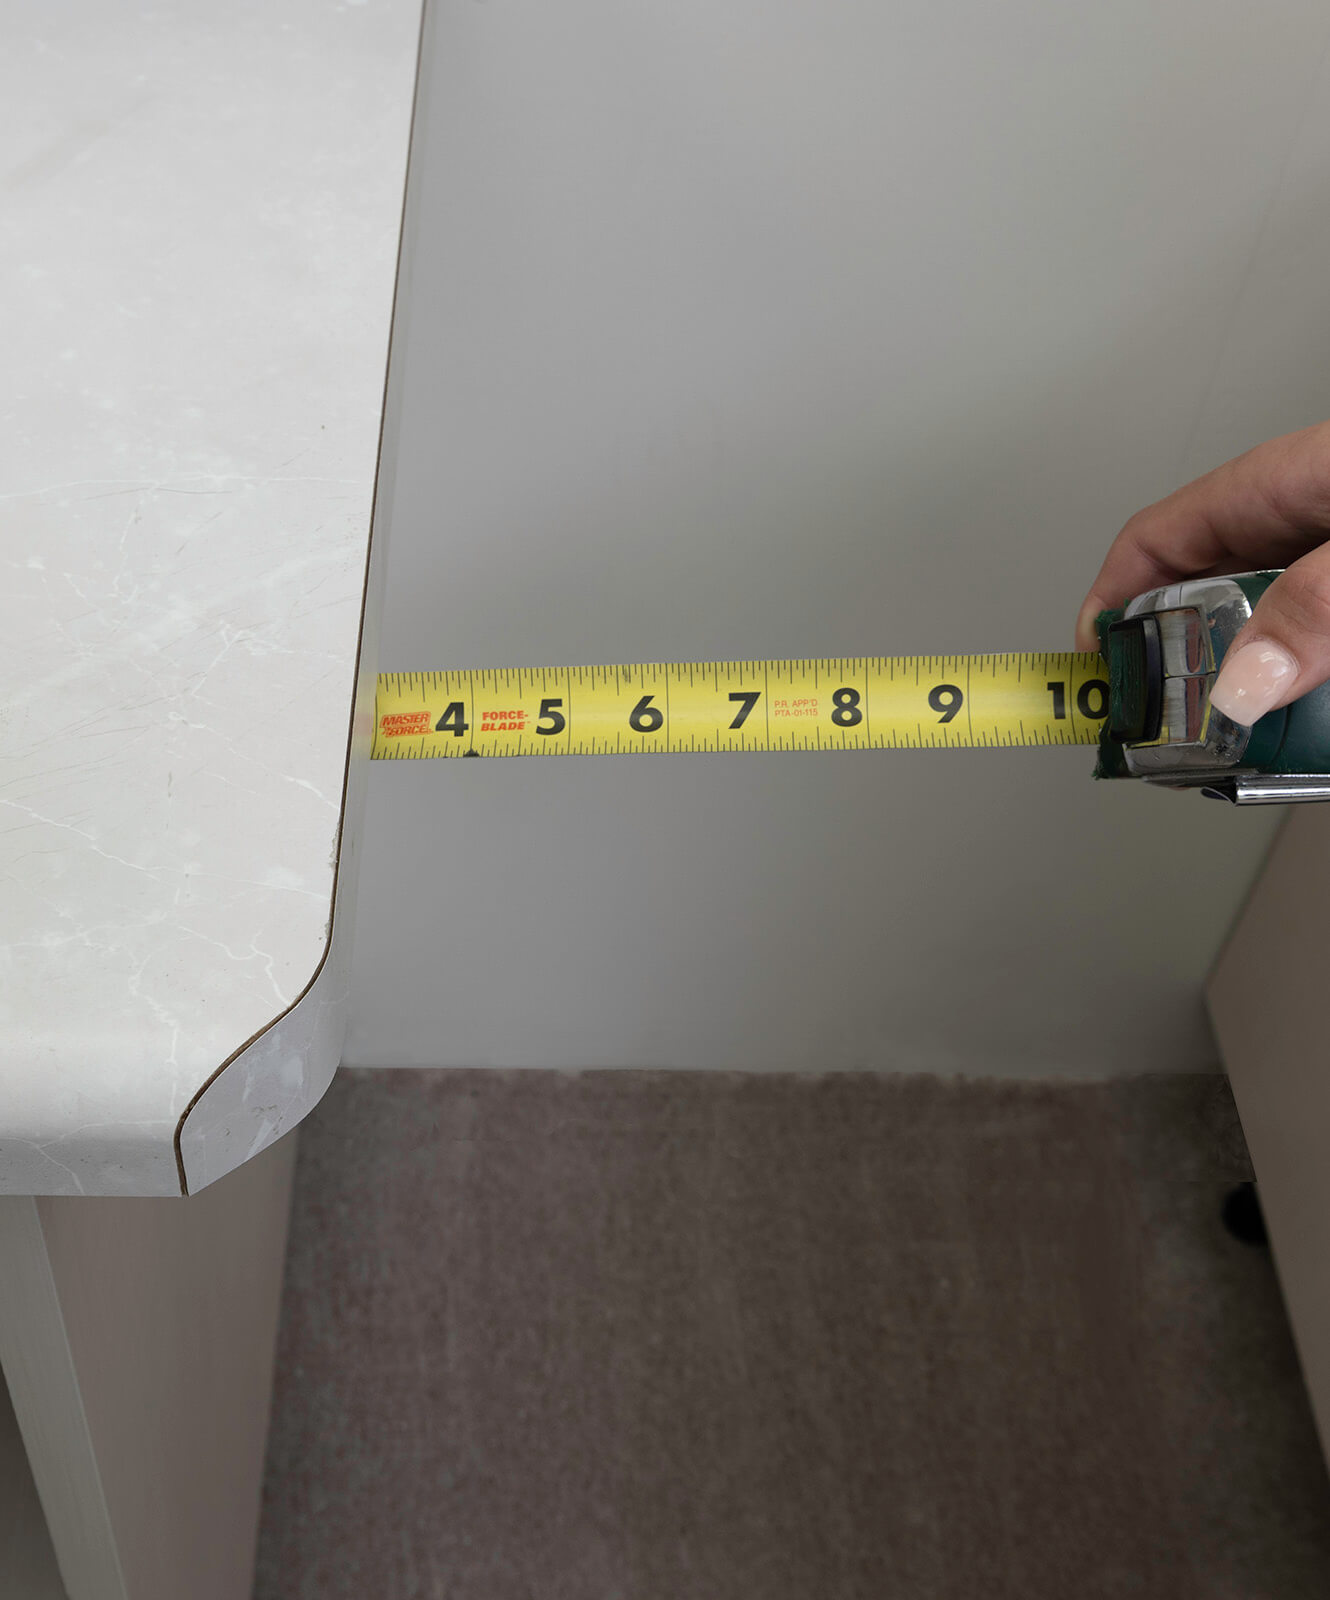
Before you begin measuring your countertops, make sure you're equipped with the right tools. A measuring tape is crucial for precision, especially on longer sections. A pencil or pen will help you label and record dimensions clearly. While graph paper isn't required, it's great for sketching out your layout to scale. A straight edge or ruler can keep your drawings tidy, and a calculator is handy for checking square footage or making quick adjustments. Quick Checklist: • Measuring tape for precision • Pencil or pen to jot down measurements • Graph paper for sketching • Straight edge or ruler for neat notes • Calculator for quick conversions Tip: Download our CustomCraft Measuring Guide to follow along as you measure.
Step-By-Step: How To Measure Your Countertops
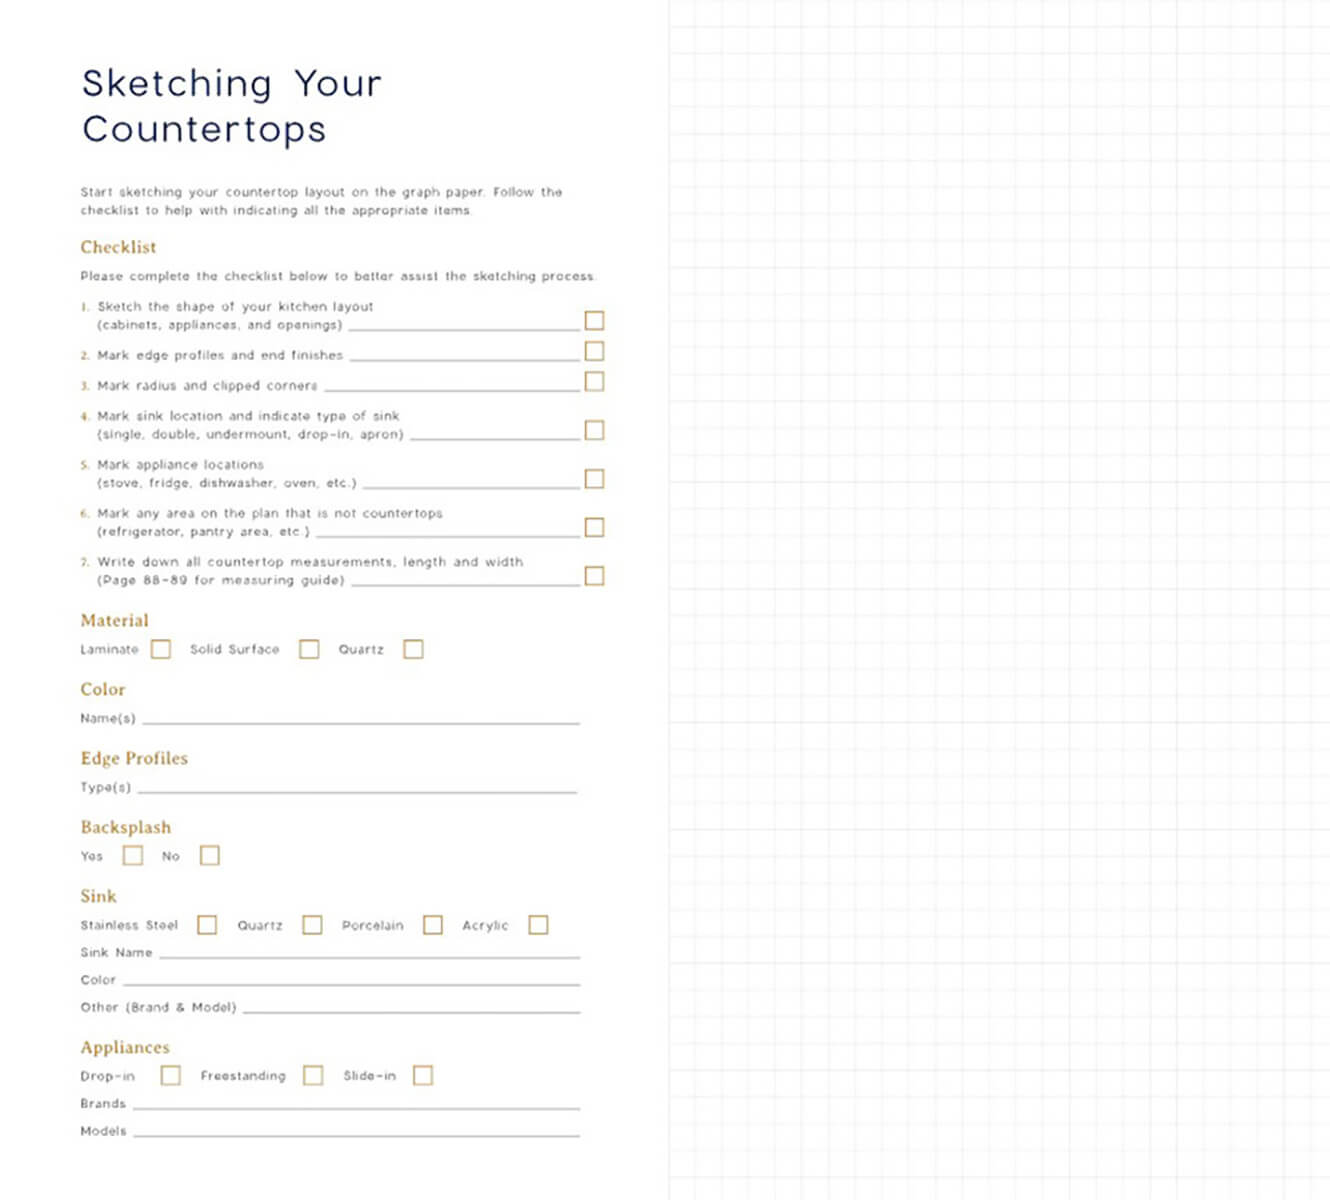
1. Sketch Your Layout Start your DIY countertop measurement by sketching a bird's-eye view of your kitchen or bathroom. It doesn't need to be perfect, but make it proportional and clearly labeled. Break the layout into segments such as "left countertop" or "back wall" and measure each one separately. 2. Measure Length And Depth Measure the length of each section from end to end using your measuring tape. For depth, measure from the back wall (or where the backsplash would go) to the front edge. 3. Account For Cutouts And Fixtures Be sure to measure and mark areas that need cutouts- like sinks, cooktops, or outlets. Add these to your sketch so they're easy to identify during design or fabrication. 4. Measure Overhangs And Edges If your counter will extend beyond the base cabinetry- such as for a breakfast bar or island- measure the overhang. Standard overhangs are usually 1" to 1-1/2", but bar-style overhangs may be much larger. Overhangs that exceed 8" will require some additional supports. 5. Include Backsplash Measurements If you plan to include a matching backsplash, measure the height and length for each wall. Note any cutouts for outlets or switches if you plan to do a backsplash that is higher than our standard backsplash height. Note: an integrated laminate backsplash is 3-1/2" high. Here are these steps at a quick glance: • Sketch your layout for a bird's-eye view • Measure length and depth for each counter segment • Note sink, appliance, and outlet cutouts • Record overhang measurements for islands or bars • Measure for backsplashes if included
Common Countertop Measuring Mistakes To Avoid
Even experienced DIYers can run into trouble when measuring countertops. One of the most common issues is rounding measurements- always write down the exact number to the nearest 1/8 inch. Walls are not always straight, so it is smart to measure both ends and the middle of each run. Don't forget to add overhangs or backsplashes into your plans, as they impact the final fit. Also, laminate, solid surface and quartz material can differ in thickness, which could affect how your counter aligns with appliances, cabinetry or previously installed backsplash tile. Finally, always leave enough space for stoves, fridges, or other kitchen elements to function properly. Mistakes to watch out for: • Rounding measurements instead of using exact values • Not measuring in multiple spots (walls may not be square) • Forgetting to include overhangs or backsplashes • Neglecting material thickness differences • Missing appliance or cabinet clearance needs
Why We Recommend A Countertop Template From CustomCraft Countertops
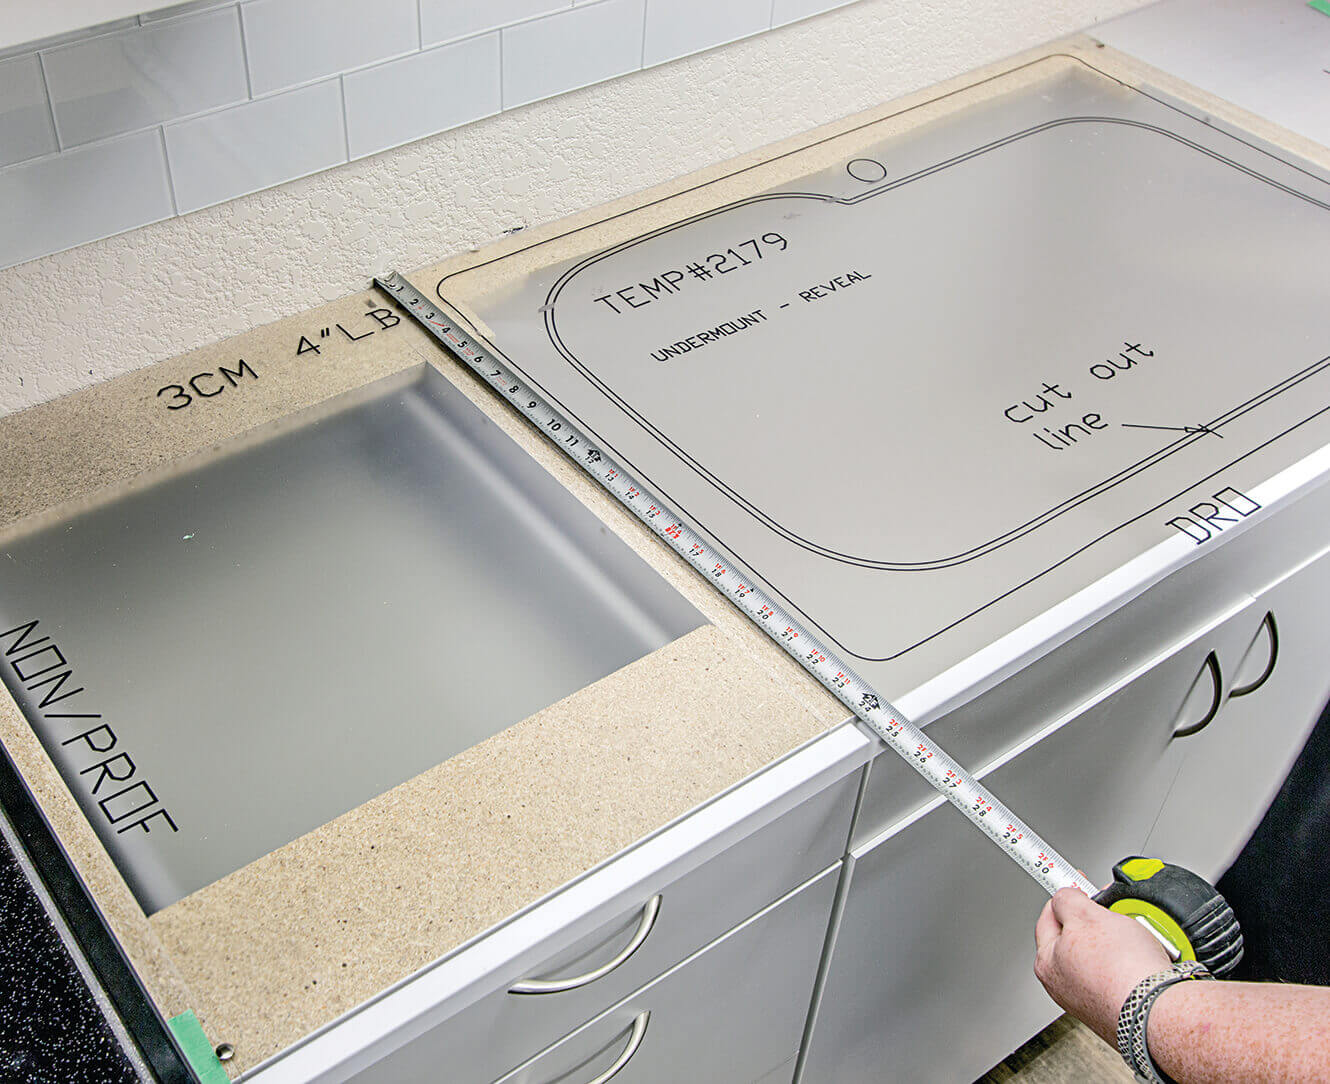
If you want peace of mind during your renovation, adding a CustomCraft Countertops® template is one of the smartest decisions you can make. Think of our templates as a final check to all of your measurements that you took while taking into consideration any wall curves, odd angles, overhangs, cutouts, and cabinetry inconsistencies before your top goes into production. Templates are especially important if you have a complex layout, especially with quartz countertops, that require special tooling to cut. Ordering a template adds a layer of accountability and verification to your project; it ensures that what you measured and designed matches what will be manufactured. The result? A seamless fit, a smoother installation, and zero last-minute surprised. So what is a template exactly? A template is a full size "rendering" of your countertop design printed on a thick vellum material that allows you to verify all dimensions, cutouts, end treatments, overhangs, and more before a countertop is produced. The best part, countertop templates are delivered directly to your house, as well as allow you to make any design or dimension change before your top goes into production if needed.
Ready To Bring Your Measurements To Life?
Measuring your countertops doesn't have to be overwhelming. With the right tools, a little preparation, and a reliable guide like this one from CustomCraft Countertops®, you're more than capable of doing it yourself- and doing it right! Once you've gathered your measurements: • Enter in your countertop measurements into our online design tool,UCreate Countertop Planner and receive an immediate quote. • Take your measurements to your local Menards store to have a team member help provide a quote. • Confirm all measurements are accurate through a countertop template and approve your order to go into production here. Learn all about installing our countertops here.

Where To Buy